


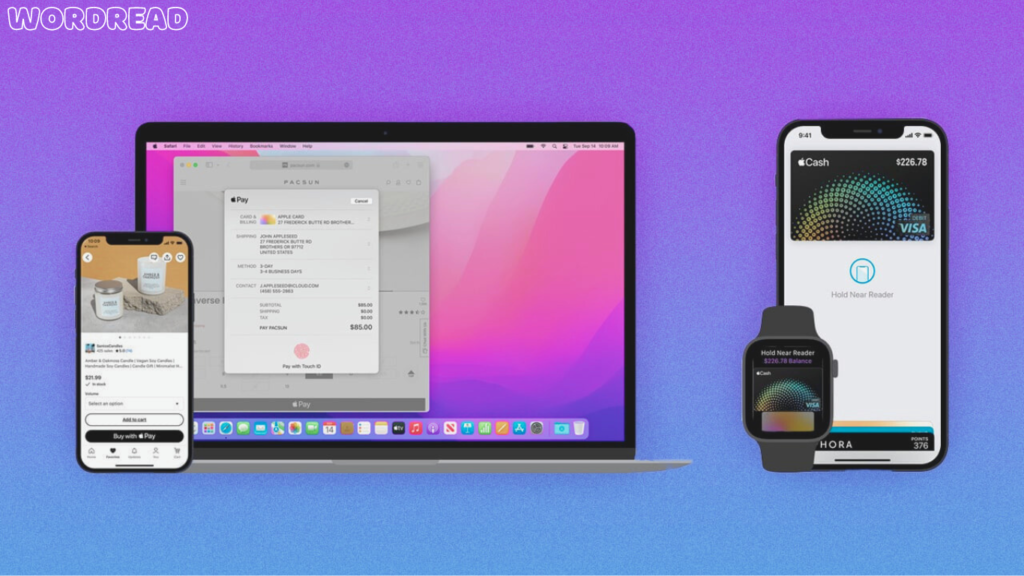
Apple Pay is a mobile or digital payment service introduced by Apple Inc. in 2014. It enables all users to make payments in person through iOS apps and also on the web. Apple Pay provides a simple, safe, and practical method for all Apple consumers to transact with their devices.

KEY COMPONENTS OF APPLE PAY:
There are a few key components of Apple Pay that are as follows:
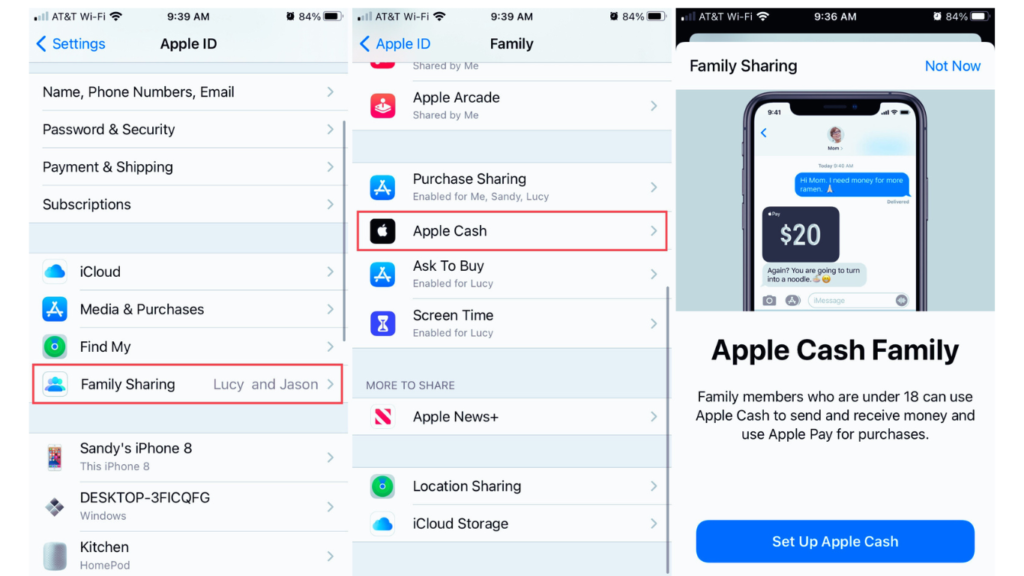
One of the most important key components of Apple Pay is Apple Cash. Apple Cash is a virtual wallet that allows all customers to send and receive money through iMessage. It can also be used to make purchases in-store and online shopping through apps.
Apple Pay customers also have a choice of various support services in addition to Apple Cash. Apple Support is always there for their customers to offer assistance and quickly address their problems. Whether users are facing any technical problems, have inquiries about their account, or need help with a transaction.
Users of Apple Pay can also apply for an Apple Card as well. The Apple Card is a credit card that was designed to work smoothly with the ecosystem of Apple. Apple Card also offers a variety of advantages such as no annual fees, daily cashback rewards and modern safety features.
SUPPORTED DEVICES OF APPLE PAY:
There are the following Apple devices are supported with Apple Pay such as:
iPhone:
Apple Pay is compatible with various iPhone models such as iPhone 6, iPhone SE, iPhone 6s and 6s Plus, iPhone 7 and 7 Plus, iPhone 8 and 8 Plus, iPhone X, iPhone XS and XS Max, iPhone XR, iPhone 11, 11 Pro, and 11 Pro Max, iPhone SE (2nd generation), iPhone 12, 12 mini, 12 Pro, and 12 Pro Max.
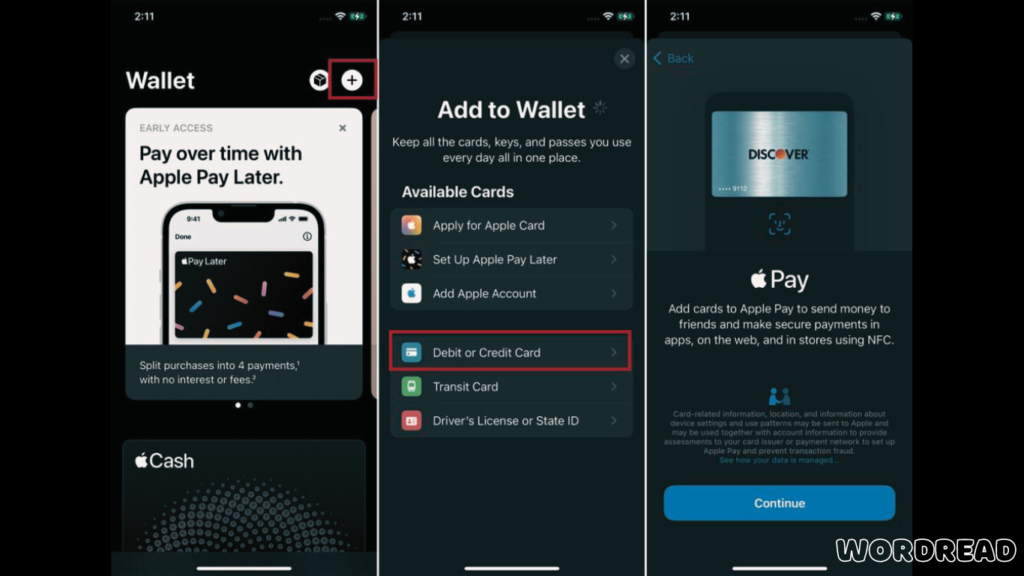
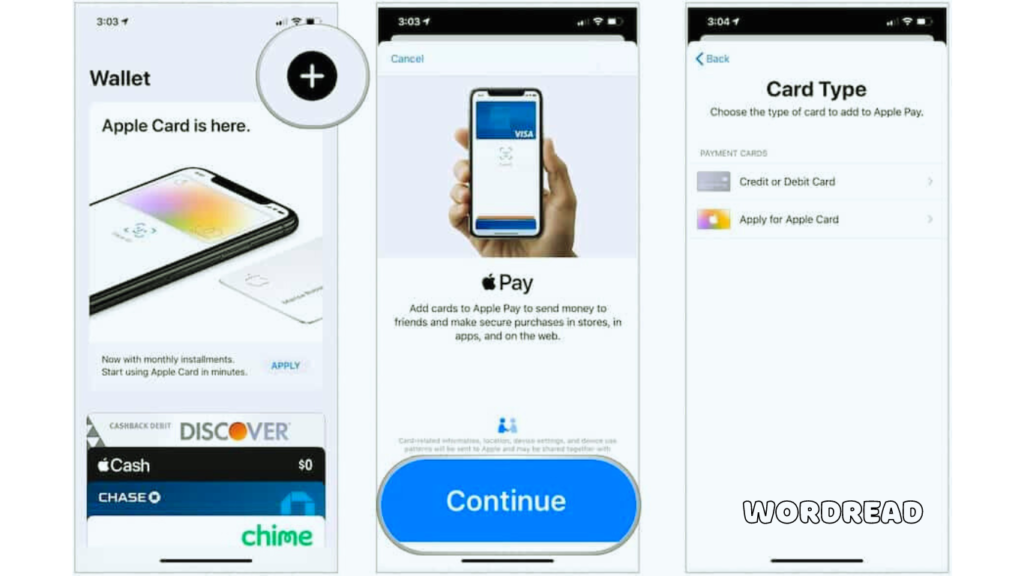
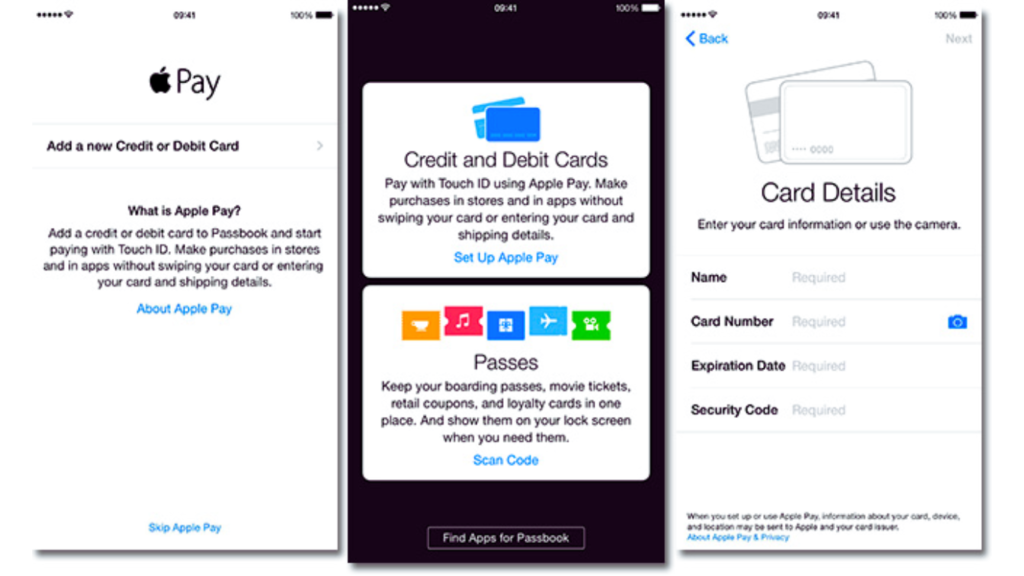
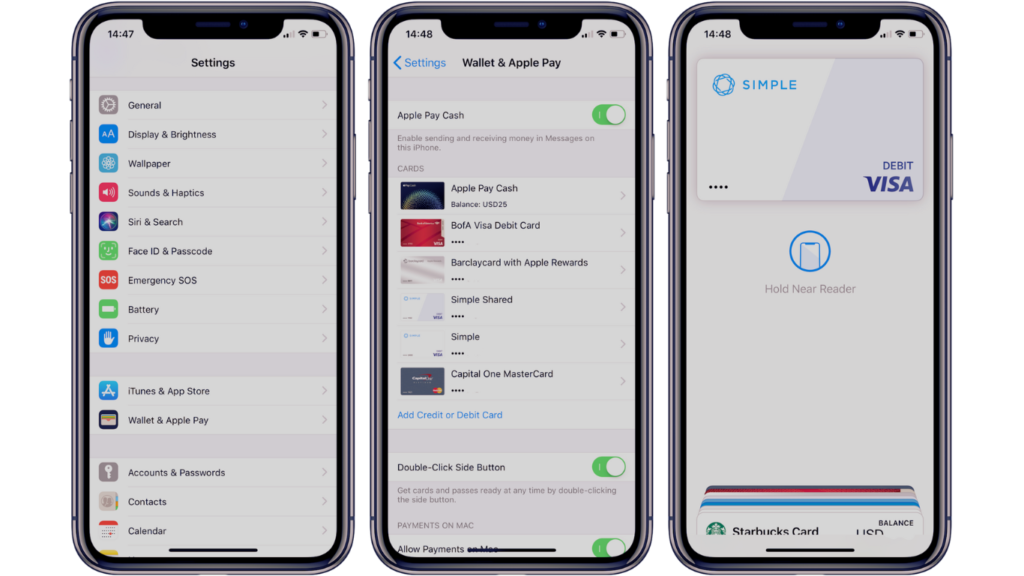
Setting up Apple Pay:
Open the wallet app and tap + in the top right corner of your iPhone.
Choose a credit card and your ID card or put all details manually.
Then follow the instructions to verify your card with bank details.
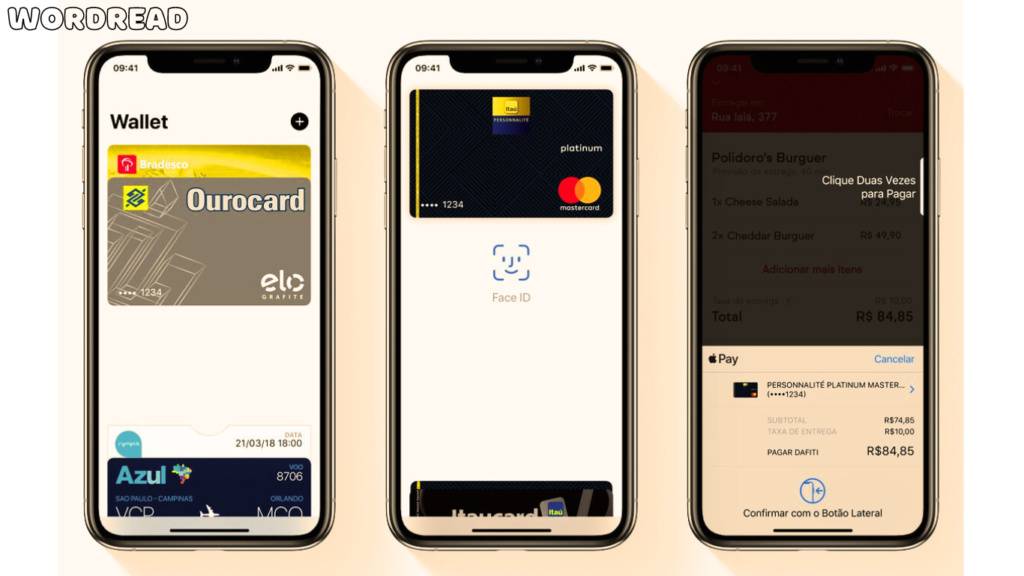
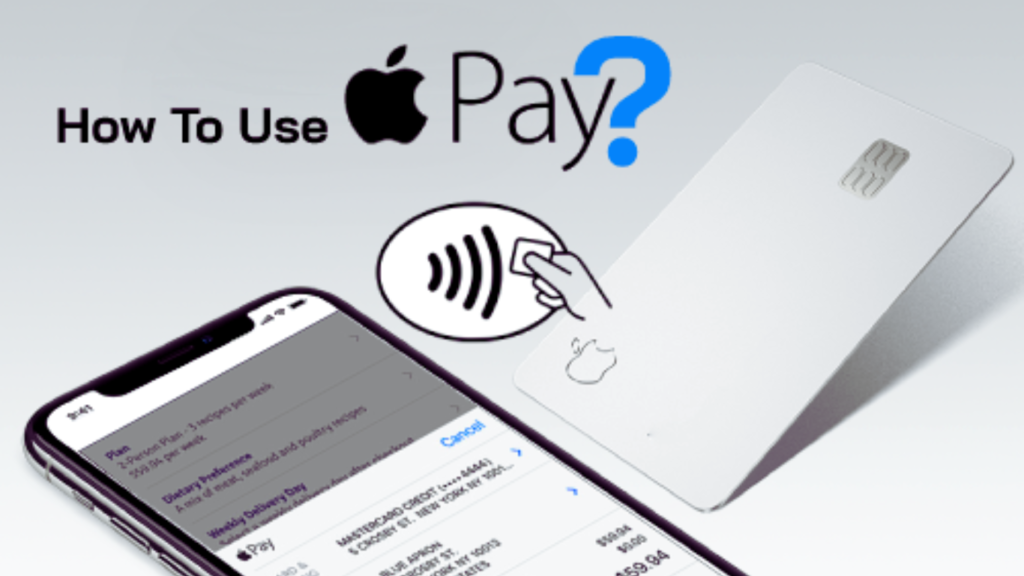
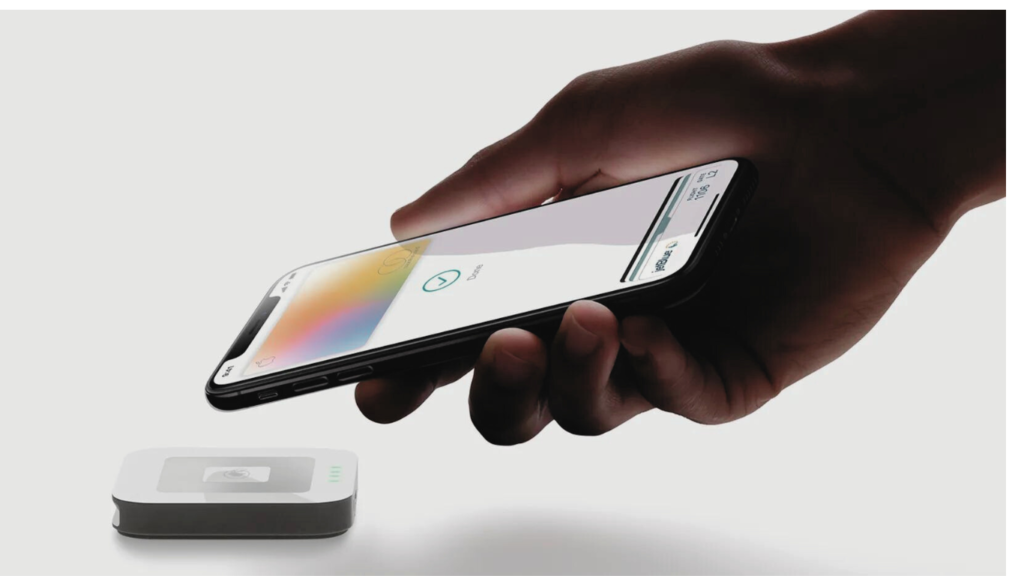
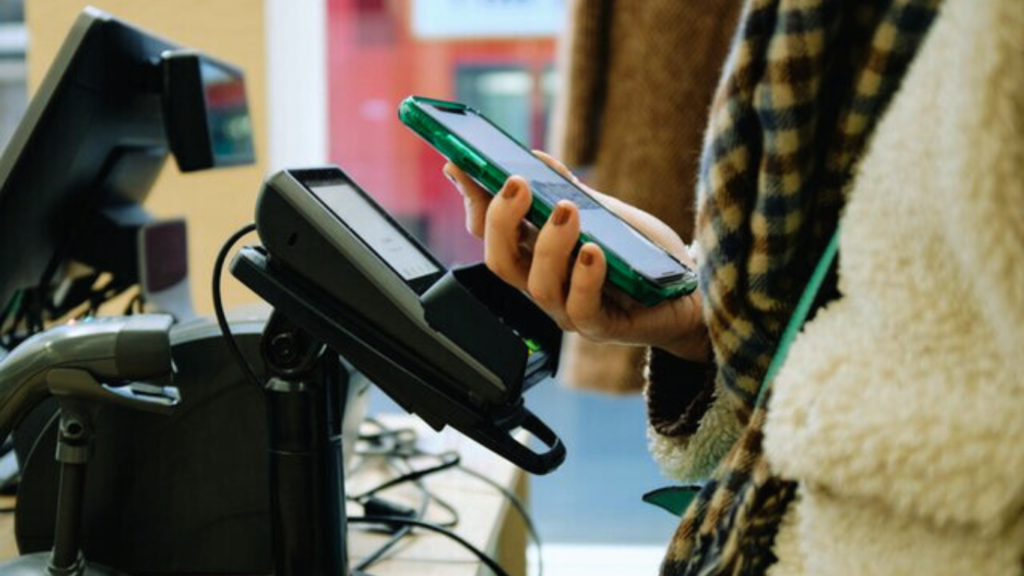
Use of Apple Pay (in stores):
Double-click the side button and authenticate with Face ID, Touch ID, or passcode.
Press the top of your iPhone close to the digital reader unless you see “Done” and a checkmark.
Use of Apple Pay (in apps and websites):
Choose Apple Pay as the payment method.
Then, confirm payment details and shipping information and authenticate with Face ID, Touch ID, or passcode.
Setting up Apple Card:
Open the wallet app on your mobile and tap +.
Choose Apple Card and follow the instructions.
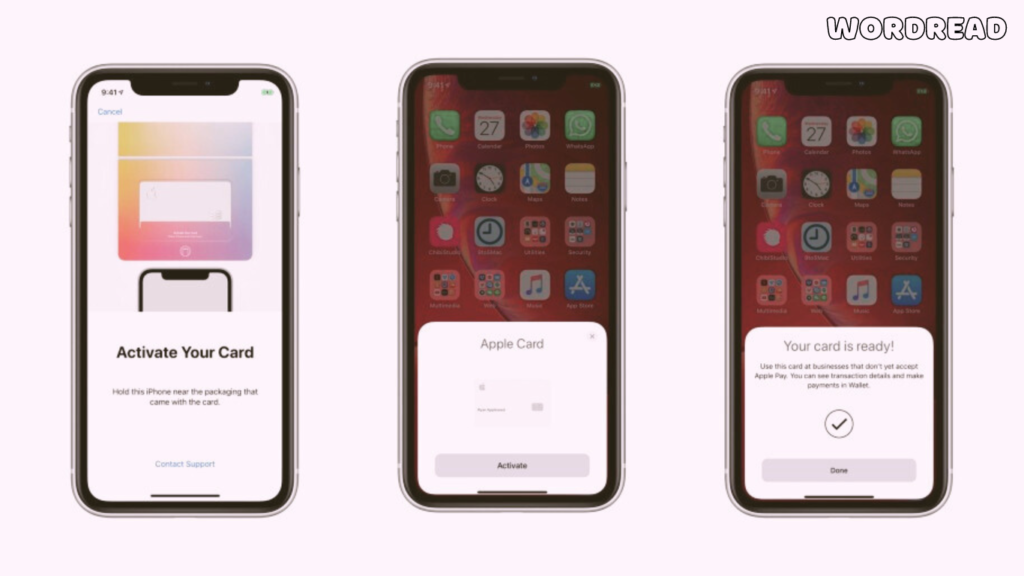
Provide the required information and analyze terms and conditions.
After approval, then you can see an Apple Card in your wallet.
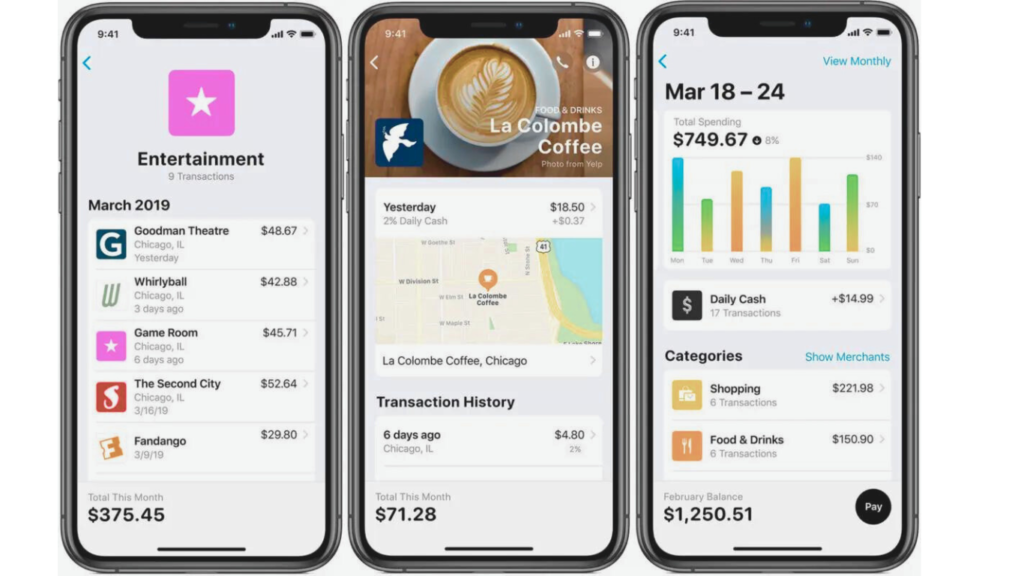
Use of Apple Card:
Open your wallet app and click on your Apple Card.
Then watch your transactions, select payment categories and pay your balance.
Setting up Apple Cash:
Open the wallet app and click the Apple Cash Card.
Follow the instructions and verify your identity.
Use of Apple Cash:
Open messages and conversations on your iPhone.
Click on the Apple Pay button, enter your amount and then click on “Pay’.
Then verify with your face ID, touch ID and send money.

Accessing Apple Support through App and Website:
⦁ Open the Apple app store and download Apple support.
⦁ Open the app and Sign in it with your Apple ID.
⦁ Then, search the topics related to your issue.
⦁ Go to ⦁ support.apple.com if you want to access your issue through the website.
⦁ Choose your device or issue category.
⦁ Follow the instructions to find solutions and contact Apple Support.
⦁ To contact Apple Support directly, visit the Apple website to find your region’s contact number.
Apple Watch:
Apple cash is compatible with the Apple Watch Series 1 and all other new models. Apple Watch users can also use their watches to make payments.

Setting up Apple Pay:
⦁ Open the Apple Watch app on your paired iPhone.
⦁ Click “Wallet and Apple cash.”
⦁ Tap “Add Card” and add a credit card manually or use the iPhone’s camera for scanning and completing the verification process.
Use of Apple Pay:
⦁ Double-tap your Apple Watch’s side button.
⦁ You will see your default card on the screen.
⦁ Place your Apple Watch’s screen up close to the contactless reader.
⦁ There was a slight tap and an alert to confirm the payment.
Setting up Apple Card on Apple Watch:
⦁ Open the Apple Watch app on your paired iPhone.
⦁ Click “Wallet and Apple Pay.”
⦁ To add an Apple Card to your Apple Watch, then open your iPhone’s settings app.
⦁ Click “Add” next to the Apple Card.
Use of Apple Card:
⦁ Double-tap the Apple Watch’s side button.
⦁ Choose your Apple Card.
⦁ Hold the display near the contactless reader to make payment.
Setting up Apple Cash:
⦁ Open the Watch app on your iPhone.
⦁ Click “Wallet & Apple Pay”.
⦁ Then follow the instructions to add Apple Cash.
Use of Apple Cash:
⦁ Double-click the side button on your Apple Watch to make a payment with Apple Cash.
⦁ Select it if not the default payment method, and hold the display near the contactless reader.
Accessing Apple Support for Apple Watch:
⦁ Download the Apple Support app to your iPhone.
⦁ Log in with your Apple ID.
⦁ Then, choose your device from the list in order to resolve an Apple Watch issue.
iPad:
iPad Pro, iPad (5th generation), iPad Air 2, and iPad mini 3 and all other later new versions are compatible with Apple Pay. Customers can also use Safari to make payments. Safari is a platform that enables consumers to make purchases on websites and within apps by using Apple Pay.
Setting up Apple Pay:
⦁ Open the Settings app on your iPad.
⦁ Click on “Wallet & apple cash.”
⦁ Choose “Add Card” and follow the steps to add a credit card.
⦁ iPad’s camera can also be used to capture your card details or you can enter them manually. And complete the verification process.
Use of Apple Pay:
⦁ Select Apple Pay for the payment method.
⦁ Verify your both payment details and shipping information.
⦁ Confirm it with your Face ID, or Touch ID to complete the payment method.
Setting up Apple Card:
⦁ Open the Wallet app on your iPad.
⦁ To add card tap the “+” button.
⦁ Choose “Apple Card” and provide the required information.
⦁ After verification, the Apple Card will be added to your Wallet.
Use of Apple Card:
⦁ Use an Apple Card for a payment method.
⦁ Open the app and click on your Apple Card.
⦁ View your transactions and make payments directly from the app.
Setting up Apple Cash:
⦁ Open the app and click on the Apple Cash Card.
⦁ Follow the instructions and verify your identity.
Use of Apple Cash:
⦁ Open Messages on your device and click the Apple Pay button.
⦁ Enter your amount and tap “Pay.”
⦁ Verify with Face ID and Touch ID to send money.
Accessing Apple Support through App and Website:
⦁ Download the Apple Support app from the App Store.
⦁ Then, Sign in with your Apple ID.
⦁ Keep searching for your issues.
⦁ Open ⦁ support.apple.com to access
⦁ Choose your device and follow the instructions to contact Apple Support.
⦁ You can call Apple Support directly by finding the number on the website.
Mac and MacBooks with Touch ID:
Apple Pay is also available for users with compatible iPhones or Apple Watch on Mac operating systems. It makes safe online transactions possible on vendor sites that accept Apple cash.
MacBook Pro with Touch Bar and the MacBook Air models both with Touch ID accept Apple cash. Mac with Touch ID also allows all users to use it properly to approve online purchases.
Setting up Apple Pay:
⦁ Be sure Apple Pay is supported on your Mac and MacBook with touch ID.
⦁ Tap the Apple menu, then choose “System Preferences.”
⦁ Switch between “Wallet & Apple Pay.”
⦁ Tap “+” button to add more cards.
⦁ To add a credit or debit card, use the Mac’s camera or manually enter the information as directed.
Use of Apple Pay:
⦁ Check for the Apple Pay icon.
⦁ Choose to pay using Apple Pay.
⦁ Verify the information for your payment.
⦁ Verify the payment with your Touch ID on your MacBook Pro or MacBook Air.
Setting up Apple Card:
⦁ Click on “System Preferences”.
⦁ Then, select “Wallet & Apple Pay.”
⦁ If an Apple Card is set up on your iPhone, follow the steps to add it to your Mac.
Use of Apple Card:
⦁ To manage your Apple Card, select Apple Pay as your payment method.
⦁ Then, choose Apple Card when making purchases on websites or apps.
Setting up and use of Apple Cash:
⦁ You need to set it up on your iPhone before using Apple Cash on your Mac. Apple Cash cannot be installed directly on a Mac.
⦁ When you choose Apple Pay at the time of checkout on eligible websites and applications, you can utilize Apple Cash as a mode of payment.
Accessing Apple Support on Mac and MacBook Touch ID:
⦁ The Apple Support app is only available for iPhones and iPads, not Macs.

⦁ Mac users can still get support through the website or directly by visiting support.apple.com, accessing Apple Support Communities, or calling Apple Support directly.


3 Comments
Learning about SMTP servers has been enlightening.
Your advice on integrating email marketing with CRM was very practical.
The layout of your site is fantastic and makes for a great user experience.